Create A WebView-free Blog App with React Native Render HTML, Part I
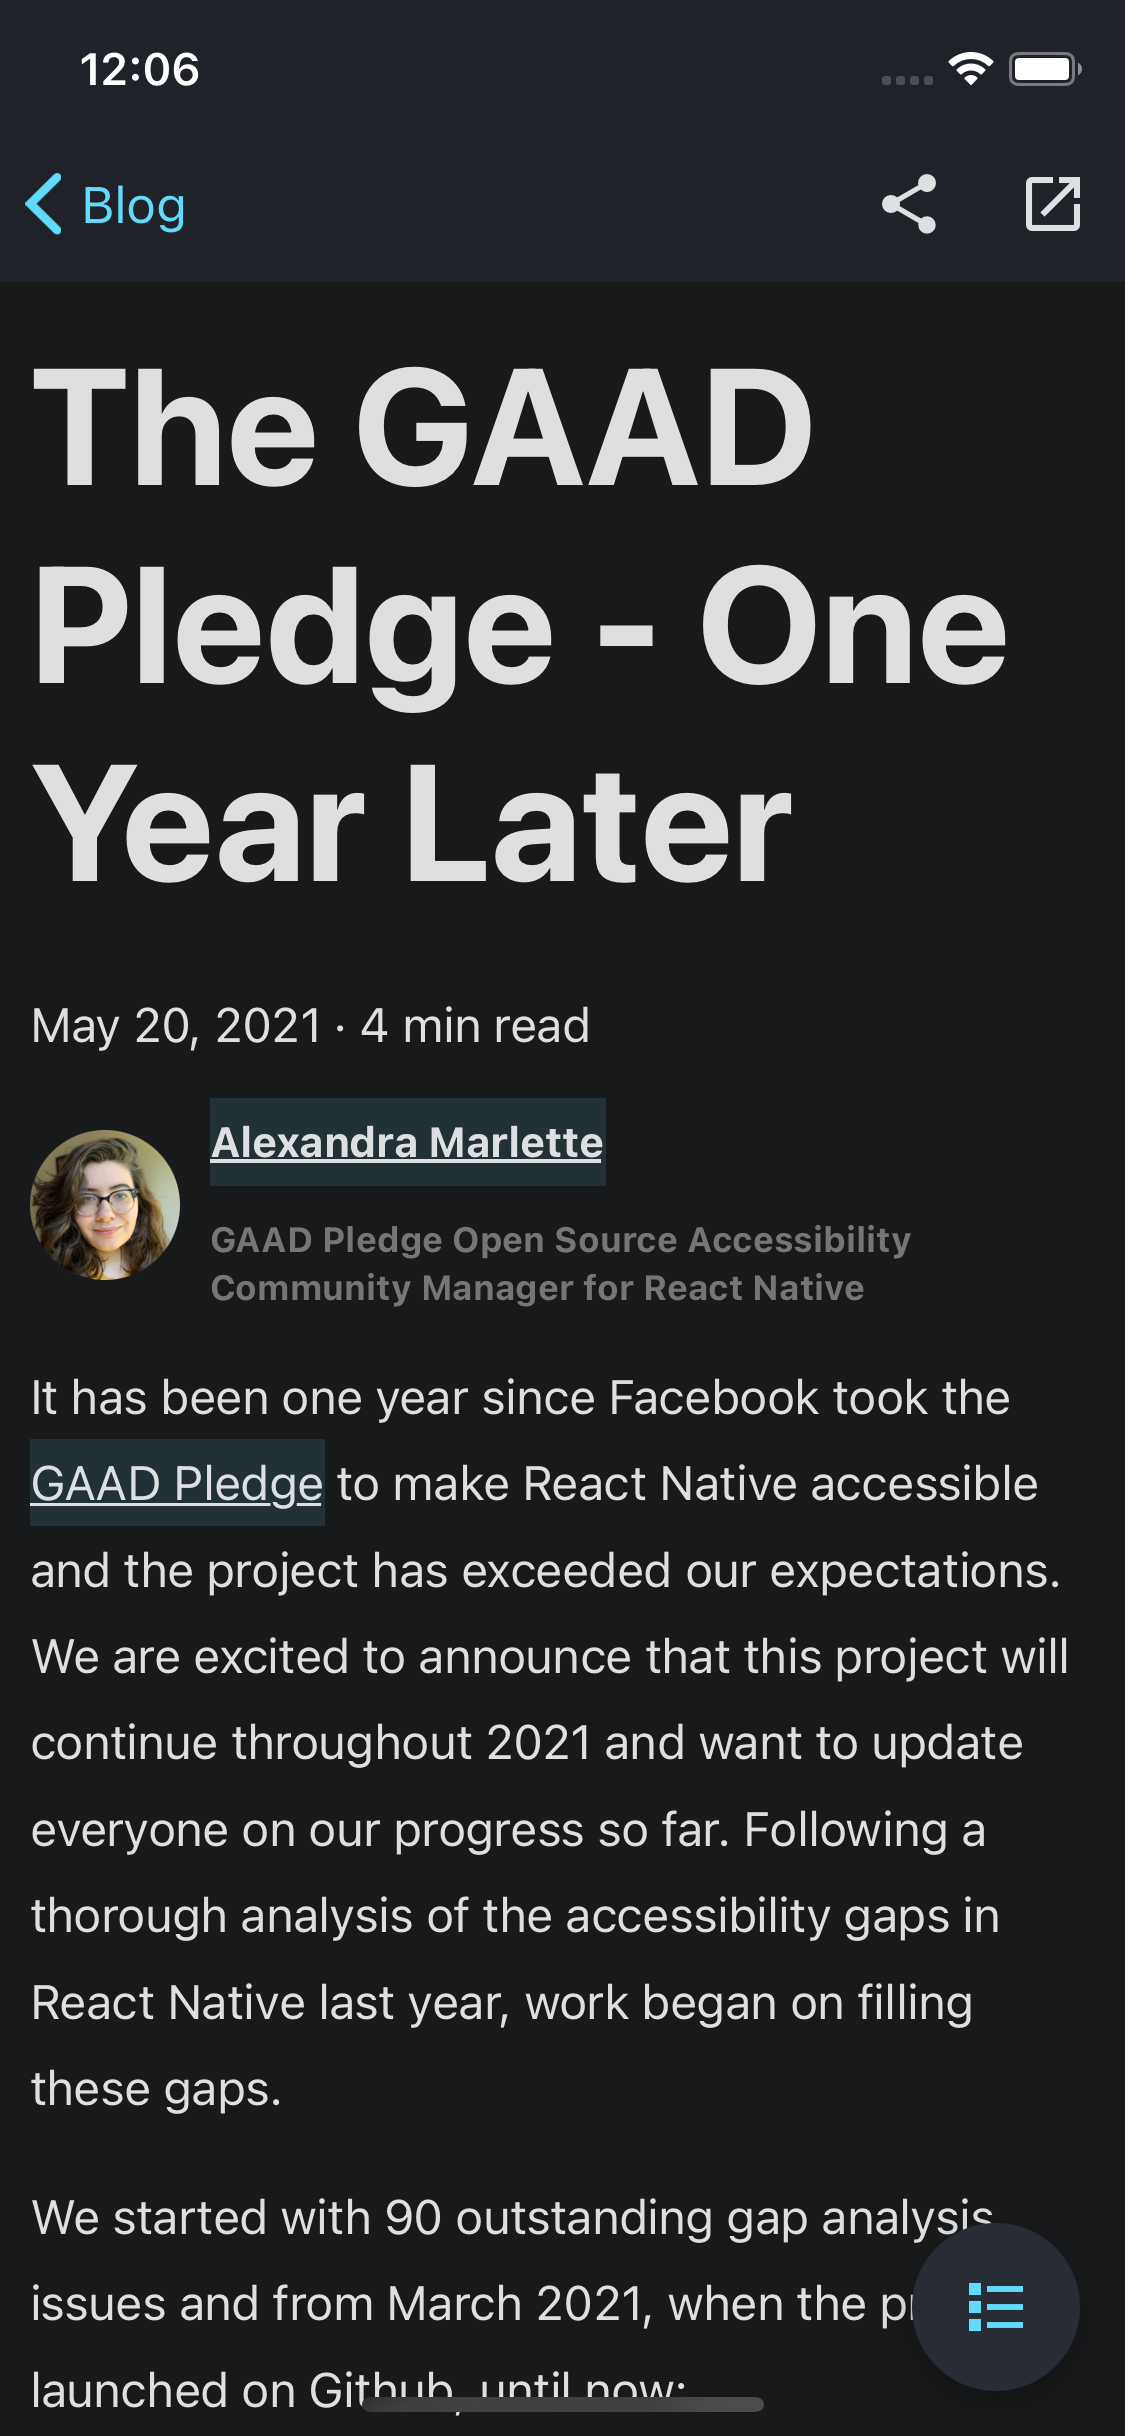
The Foundry Release beta is out, and I wanted to show you its powerful capabilities with a very common use-case: rendering an article from a Blog. For this case study, we will use the official React Native blog, which is build on Docusaurus. The App will feature:
- A list of articles fetched from an RSS Feed;
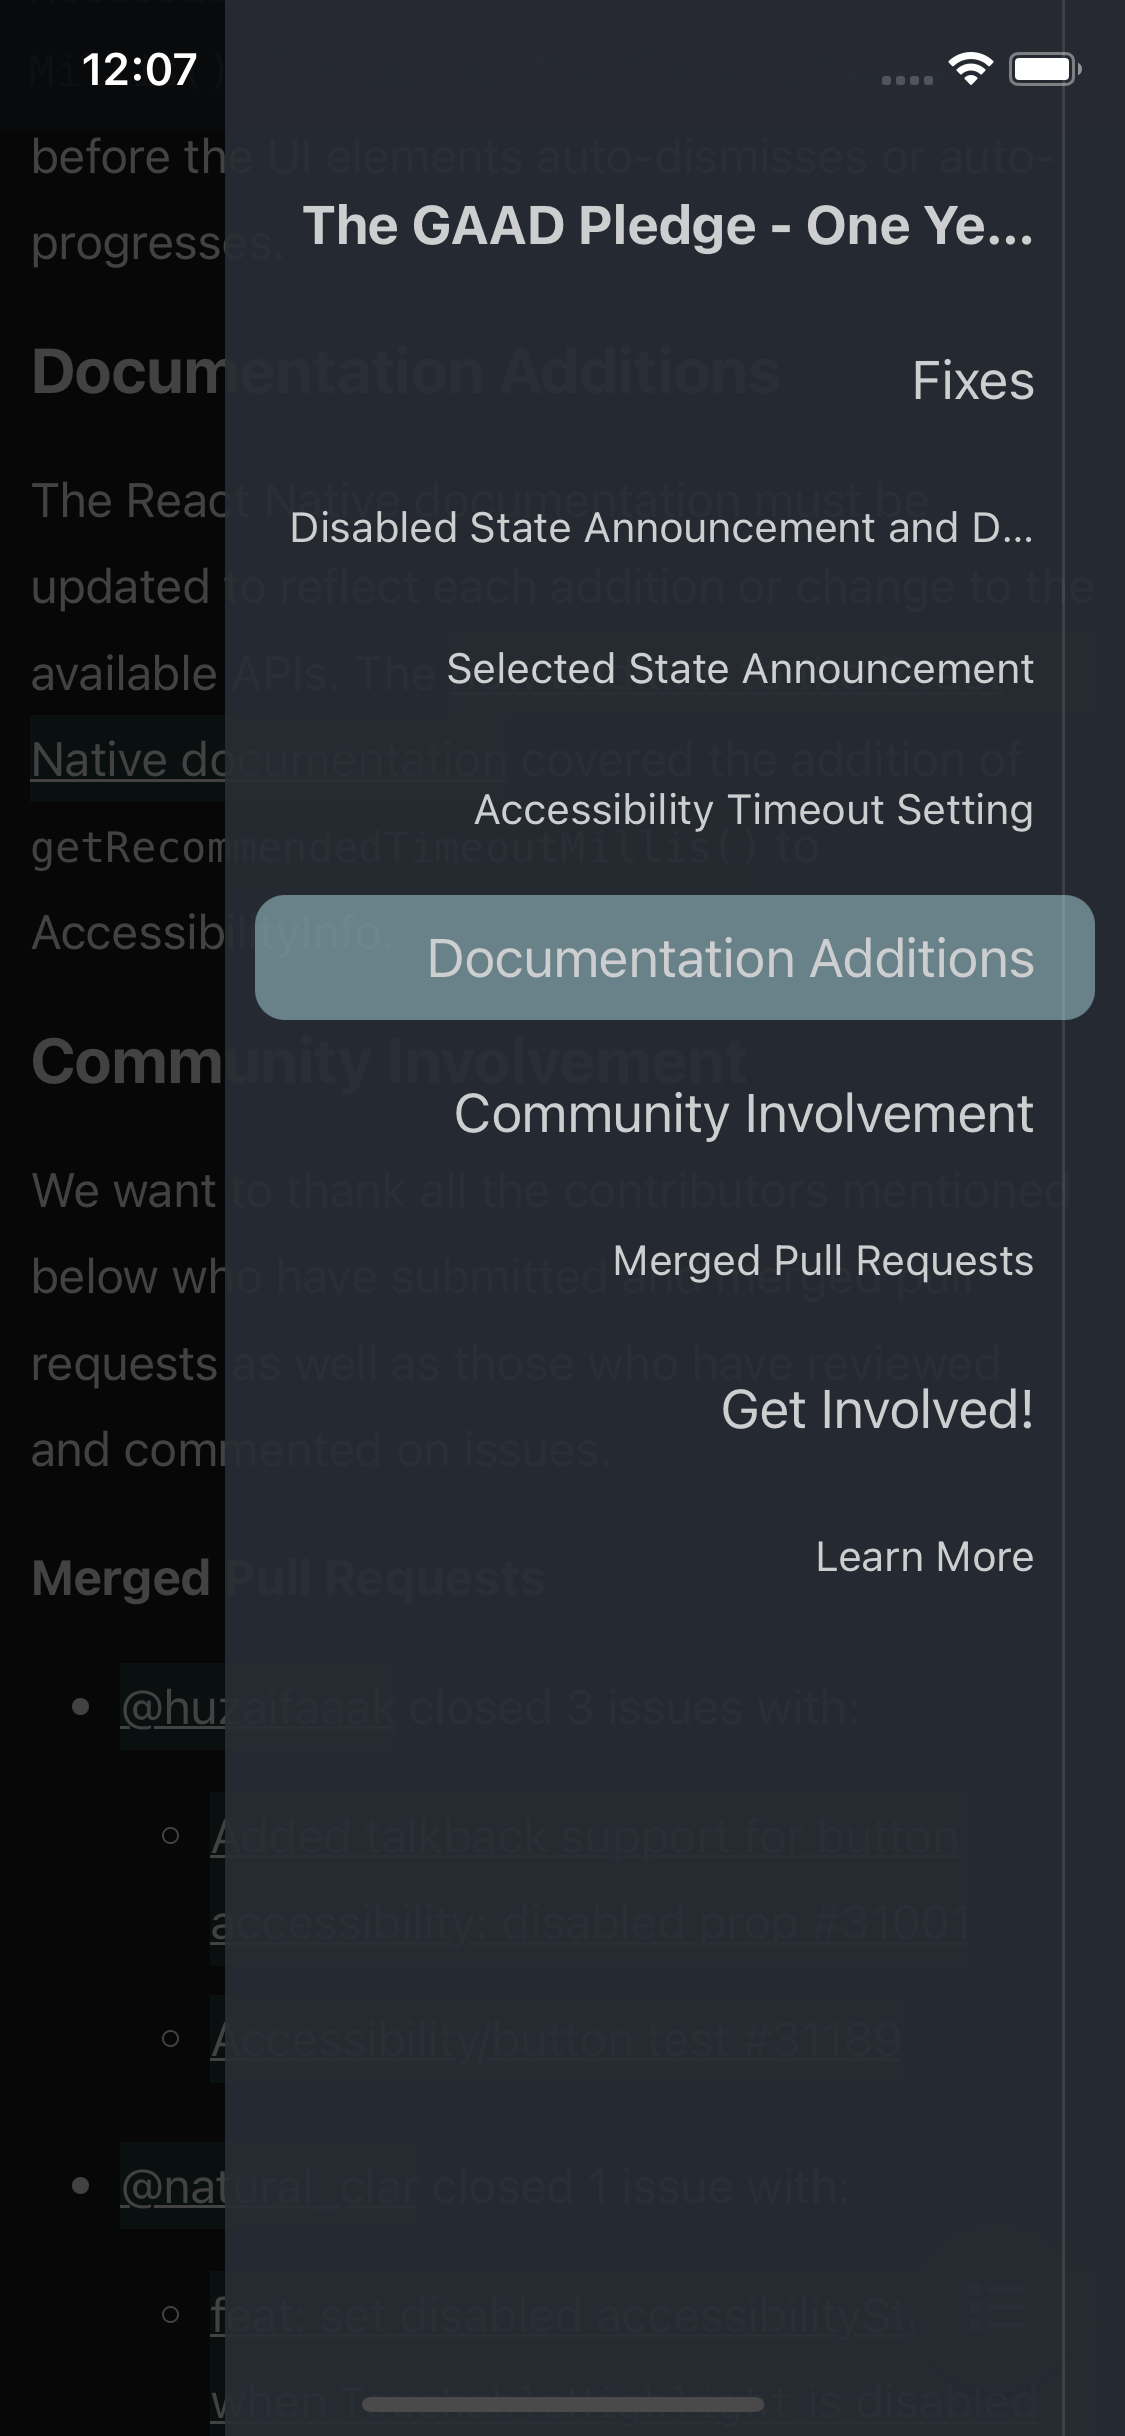
- An aside table of content displayed in a drawer layout;
- A scroll-to-section feature when pressing a TOC entry.
This study will be a good opportunity to learn or revisit important techniques to master this library. Also note that the implementation, especially targeted CSS classes are inherently tied to how the website is structured. Since the React Native blog is built on Docusaurus, the implementation should be very easy to transpose in other docusaurus-based blogs.
Now, let's get to the heart of it ❤️
tip
The source code of this case study is available in the main branch of this
repo: jsamr/rnrh-blog. The enhanced
branch contains a few more features beyond this tutorial, such as a refined UI,
dark mode, caching with react-queries...
etc. You can try out the enhanced version right now with expo, see the
project page for instructions.
tip
If you have any question or remarks regarding this tutorial, you're welcome in our Discord channel.
Introduction#
I propose starting with the end-result, and then explain how we got there. The App has two screens:
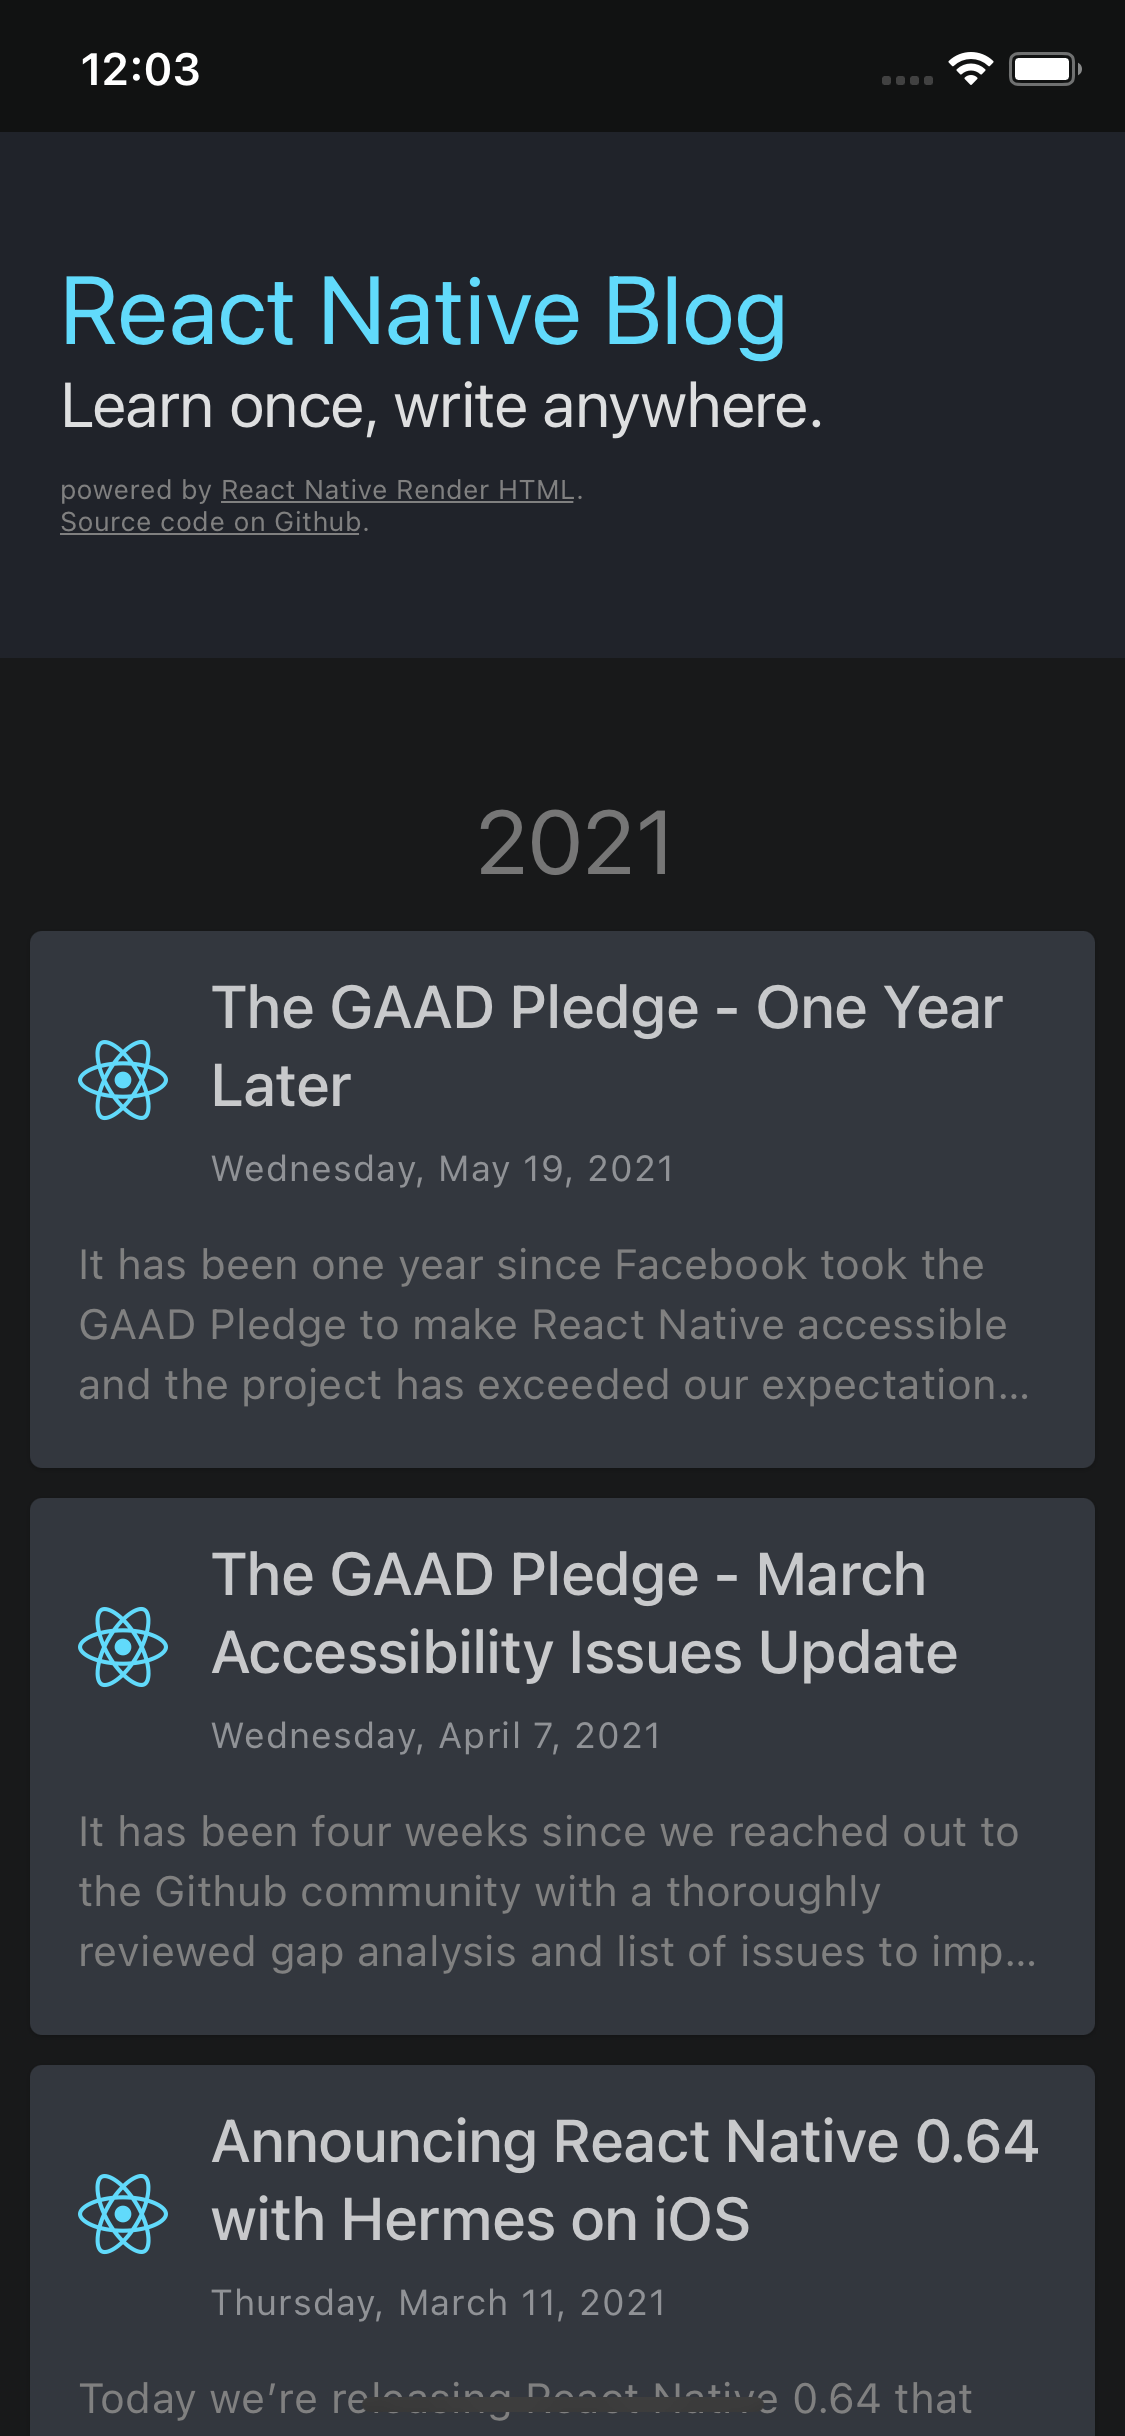
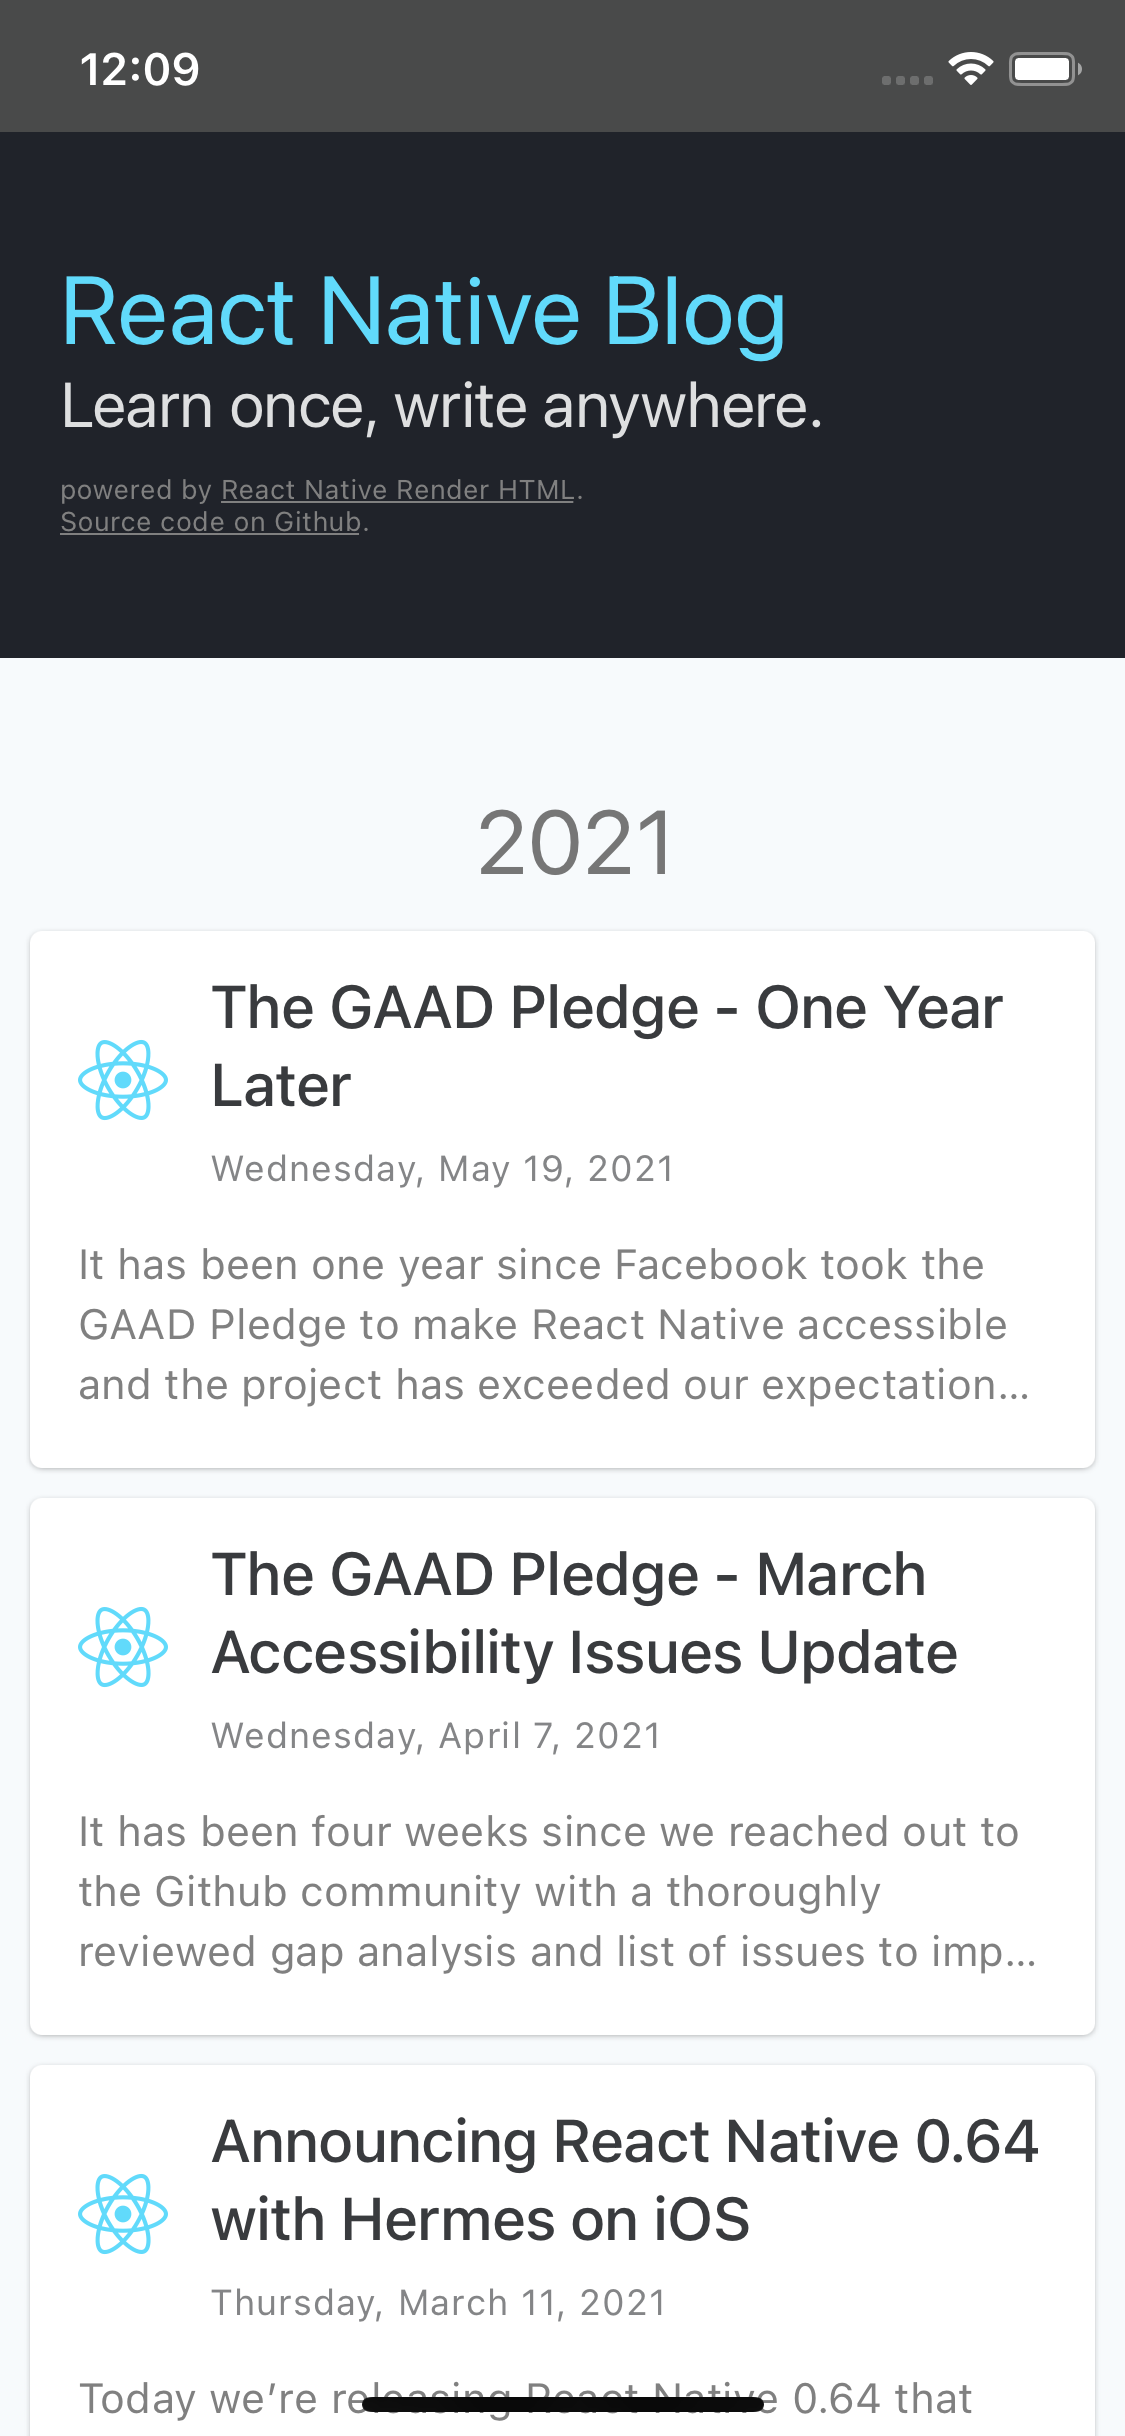
- The Home screen, displaying a list of articles fetched from a RSS feed.
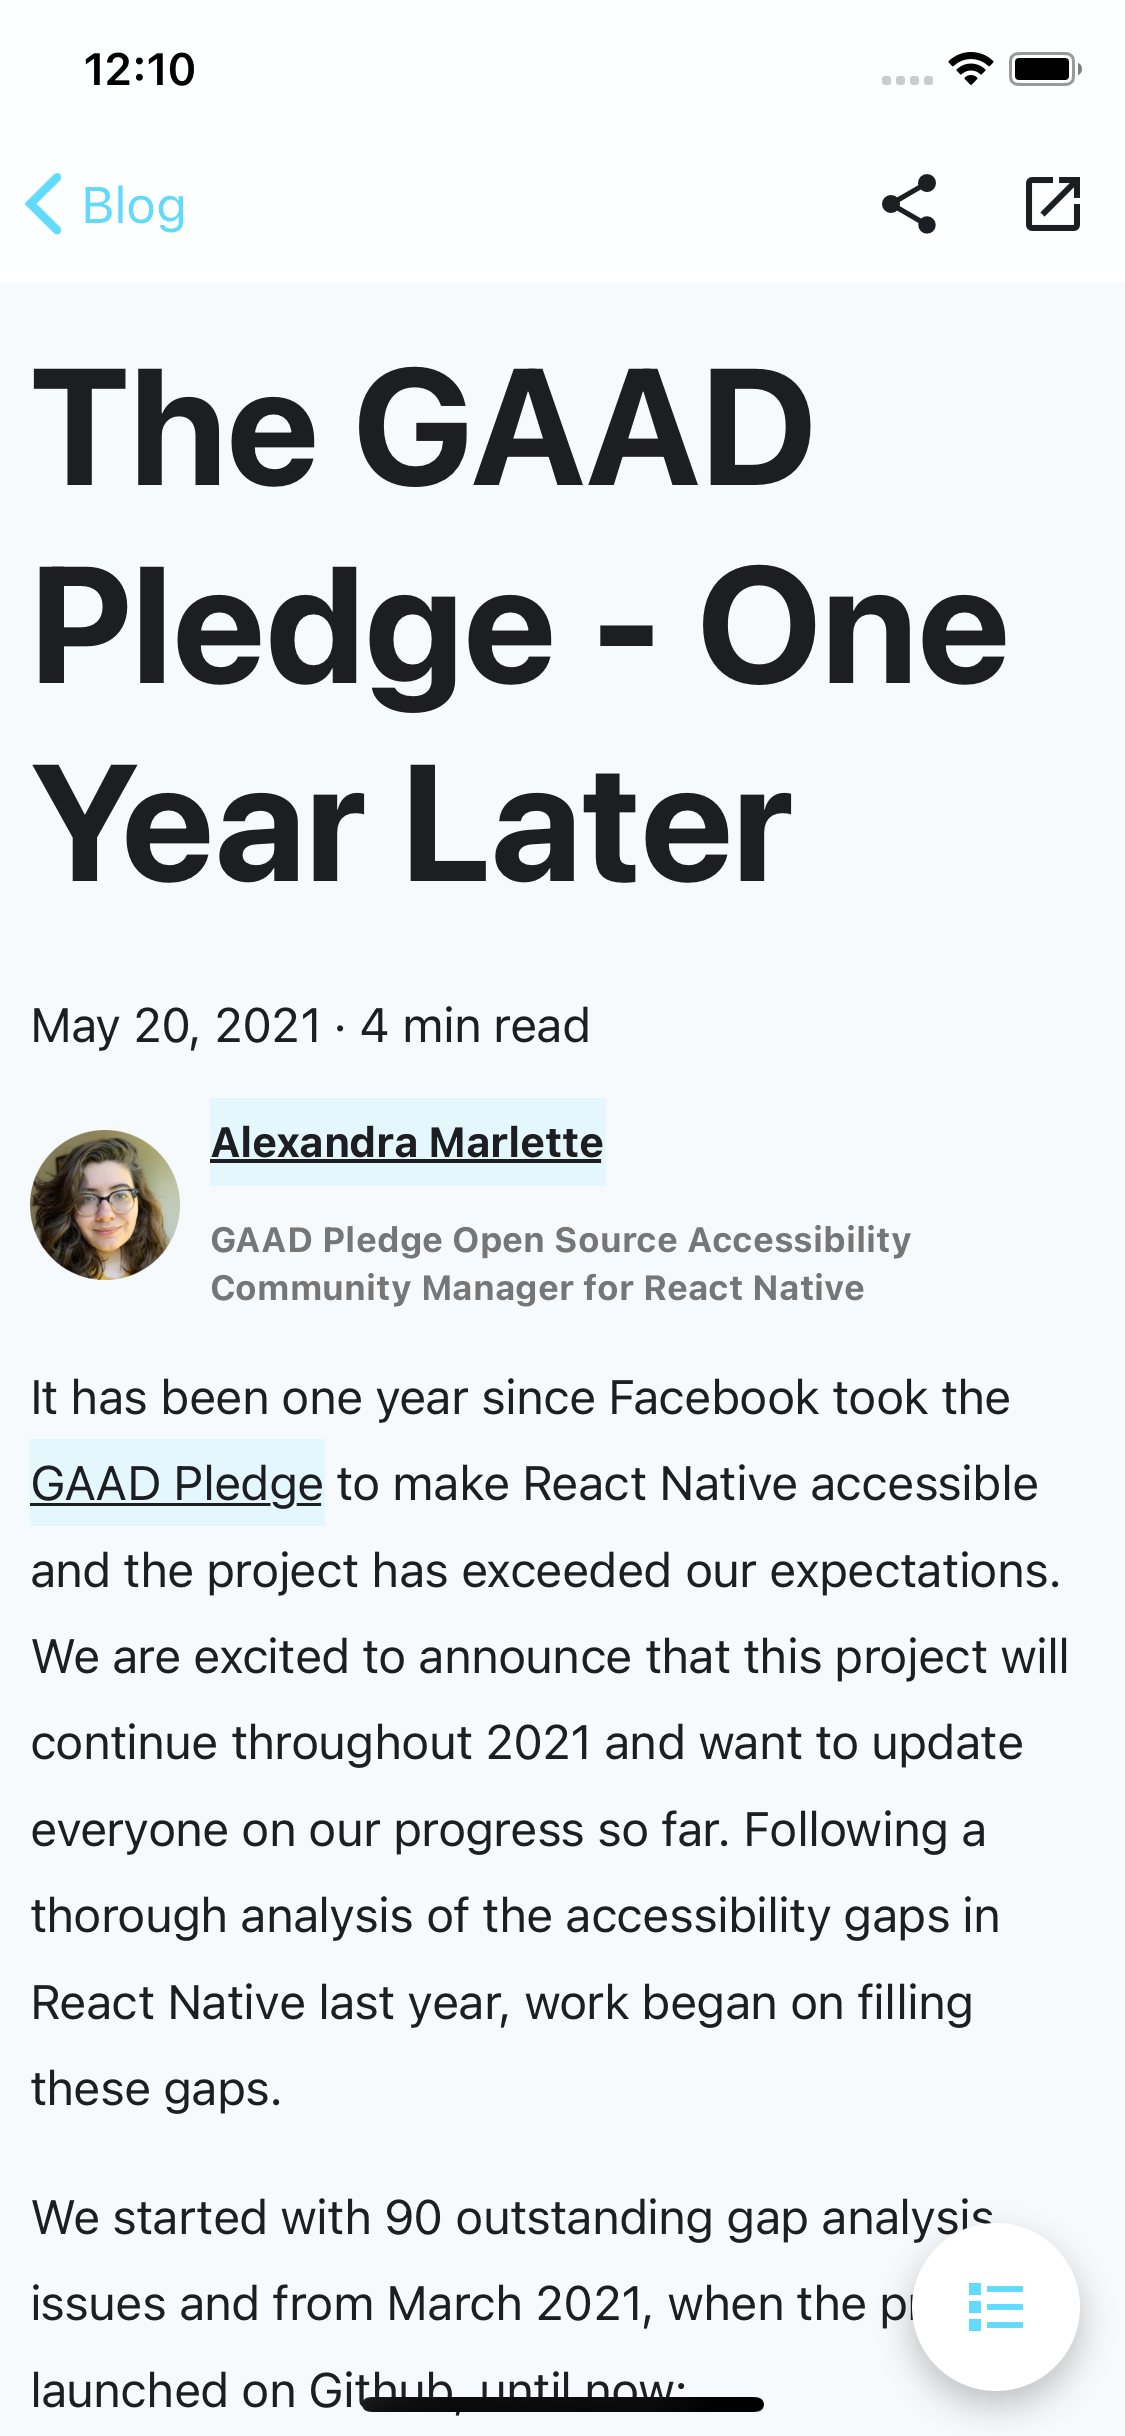
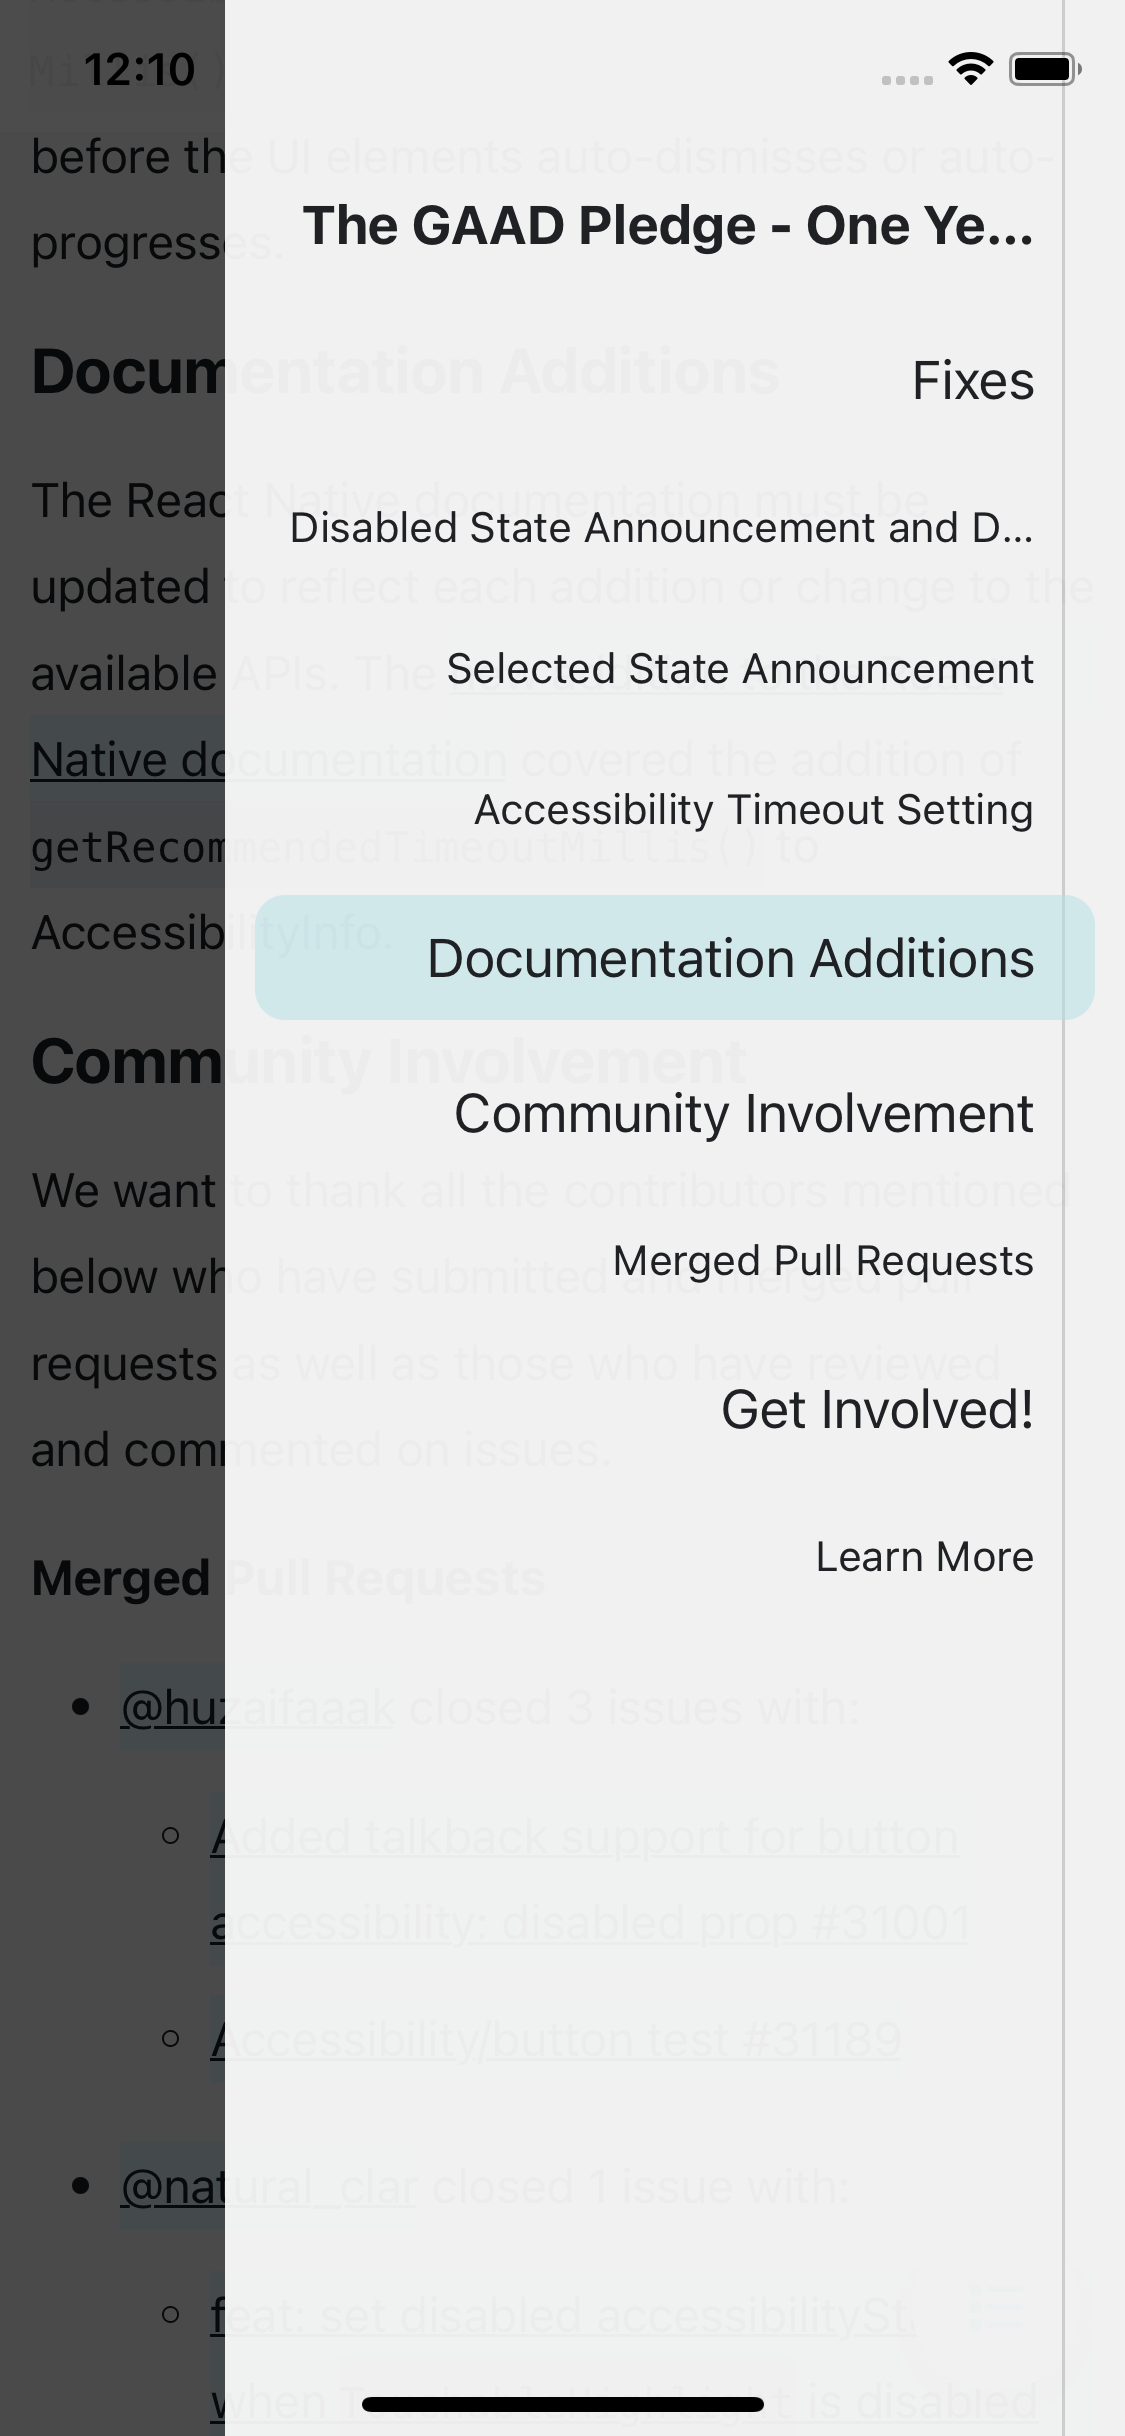
- The Article screen, displaying the body of the article and a side-menu to navigate into sections.
The navigation is handled by React Navigation library, and most of the components come from React Native Paper.
important
The steps laid out in this tutorial won't cover the enhanced implementation such as
seen in below gallery. We will focus on simplicity and won't spend much time on
theming. But you can always check out the enhanced implementation here:
jsamr/rnrh-blog (enhanced branch)
Gallery#

Getting Started#
We will use Expo cli to initiate the project. If you don't have it installed yet, install the cli globally:
After which, create the project. We will use TypeScript and yarn, but of course you're free to set a plain JavaScript project instead.
Then we need to install dependencies required for this project:
Now, run
to launch the App in an android emulator.
Setting Up Navigation#
Declare the Routes in TypeScript#
Create a new shared-types.ts file in the root of your project with the following definitions:
These types define the names of the routes supported by our stack navigator,
and the types of their params. Notice that the Article route takes a url
and title for display.
Create the Routes Components#
Add two files, screens/HomeScreen.tsx and screens/ArticleScreen.tsx:
Remarks
In the ArticleScreen component, we define an effect to set the screen title
displayed in the header based on a route parameter. The logic is internal
to the React Navigation library.
Create the Root Navigator#
Replace the current App.tsx with the following:
You should finally see a screen displaying "Welcome to the React Native Blog"! Great, the structure is ready: from now on, we can implement each of those screens.
tip
If you are not familiar with React Navigation, you could benefit from reading its Stack Navigator documentation before going further.
Now, we're ready to implement the RSS feed list. Let's jump to Part II.

