Create A WebView-free Blog App with React Native Render HTML, Part II

This article is the part II of the Create a WebView-free Blog App with React Native Render HTML serie. See also Part I and Part III.
tip
The source code of this case study is available in the main branch of this
repo: jsamr/rnrh-blog. The enhanced
branch contains a few more features beyond this tutorial, such as a refined UI,
dark mode, caching with react-queries...
etc. You can try out the enhanced version right now with expo, see the
project page for instructions.
tip
If you have any question or remarks regarding this tutorial, you're welcome in our Discord channel.

The Home Screen#
Let's get back to our HomeScreen.tsx file. Below are the steps to get to a functional component:
- Fetch the RSS feed items. We'll do this in the
useRssFeedhook. - Render a
FlatListfilled with the fetched items. - Render individual items in a
FeedItemDisplaycomponent.
The useRssFeed Hook#
First of all, we'll define the FeedItem TypeScript interface in
shared-types.ts. This is the shape of items parsed by the RSS parser.
Then, let's define the hook in the hooks/useRssFeed.ts file.
This hook uses an effect to load the feed, and store the retrieved items in a
local state (items). A few remarks:
- We provide a
refreshfunction to trigger a new fetch along with aisRefreshingstate. - The effect callback returns a cleanup function to avoid setting state on unmounted components. Not doing this is considered an antipattern, see this guide for a deep dive.
Last but not least, if you are using TypeScript, you will need to add module
definitions for rss-parser. Put this file in the hooks folder:
The FeedItemDisplay Component#
We are going to define this component in the components directory, like so:
This component barely displays a FeedItem in a Card component from
react-native-paper. Besides, it allows navigation to the "Article" route when
pressed.
The List Component#
Since we have the data consumable with a hook, and individual items, let's
rewrite the default export of screens/HomeScreen.tsx:
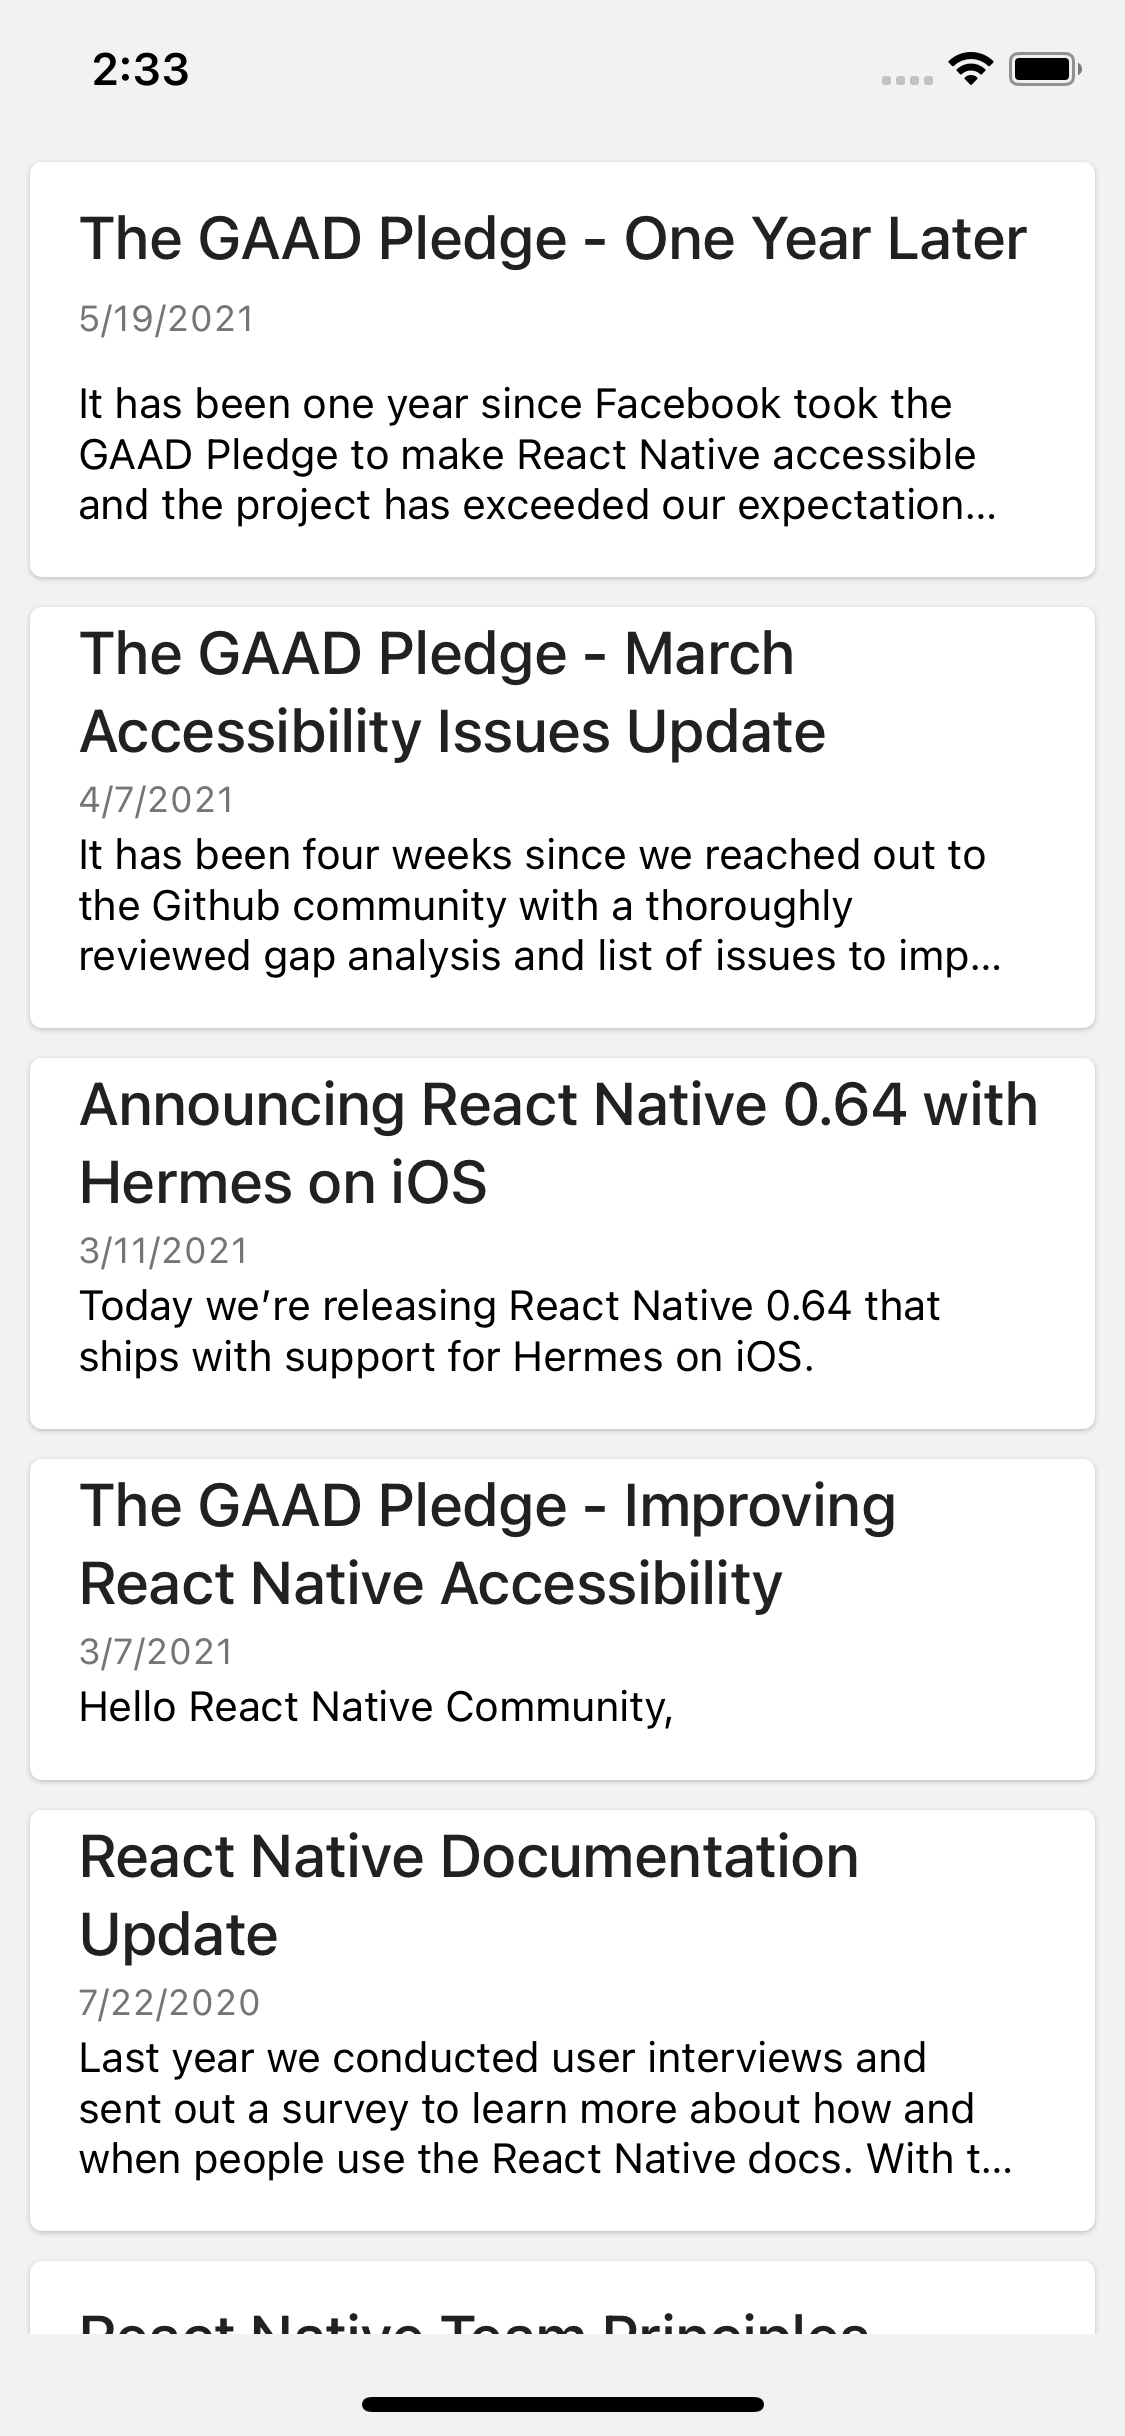
Great! Thus you should be able to see the list on your app. Press a card and
you'll see an empty Article screen showing up. Note that we are using a
Separator component for consistent spacing above, below and between items.
tip
If you are unfamiliar with the FlatList component, check out the official guide.
note
You can drag-to-refresh the list to fetch the RSS feed again. This is thanks to
onRefresh and refreshing props of the FlatList component.
Now it's time to refine the Article screen!
The Article Screen#
To render the article, we'll need to follow the below steps:
- Fetch the HTML from the given URL;
- Parse the HTML to build a DOM;
- Extract headings from the DOM;
- Render the headings in a Drawer and the DOM in a
ScrollViewwithRenderHTMLSource.
One important note is that we must use the explicit composite rendering
architecture
because we want access to the DOM object from the controlling component to
easily extract headings, which is more tedious when using the
implicit composite architecture (e.g., with the RenderHTML component).
Setting up the Composite Rendering Architecture#
Explicit composite rendering implies that we will replace RenderHTML with RenderHTMLSource, which will have two ascendants in the render tree: a TRenderEngineProvider
and a RenderHTMLConfigProvider. Those
parents will respectively share an engine instance and configuration with any
RenderHTMLSource descendant.
A good place to put those providers is the very root of the application. For that end, we will
create a components/WebEngine.tsx and load it from App.tsx:
A few remarks on different props used here:
TRenderEngineConfig.ignoreDomTagsprop to ignore irrelevant tags;TRenderEngineConfig.selectDomRootprop to select the first DOM element to render;RenderHTMLConfig.enableExperimentalMarginCollapsingprop to collapse vertical margins.
We will go back to this component later to refine the appearance. For the time
being, we'll focus on features.
A final step is to import the WebEngine from the root component:
Rendering the Article#
The ArticleBody Component#
Let's implement an ArticleBody component which sole purpose is to display
the rendered DOM when it's ready, and a loading indicator when it's not:
Note that the RenderHTMLSourceProps.source
prop can take a dom, uri or html field. Just as a reminder, we need to
use the dom source variant because we will have to query
headings displayed in a Drawer menu.
Back to the ArticleScreen#
We need to produce a dom object to feed the ArticleBody component we have
just defined. We propose two hooks to produce this object:
useFetchHtml(url: string)to fetch the HTML;useArticleDom(url: string)to create a DOM.
Add this new file in hooks/useArticleDom.ts:
The important stuff is happening in the useArticleDom hook. We're using
useAmbientTRenderEngine hook to get the
instance of the Transient Render Engine provided by TRenderEngineProvider,
which in turns offers the parseDocument method to
transform an HTML string into a DOM. Moreover, note that because we passed selectDomRoot
prop to select the first <article> met, the returned dom object will be an
<article> element. Everything else such as <header>, <footer> and other
elements will be ignored.
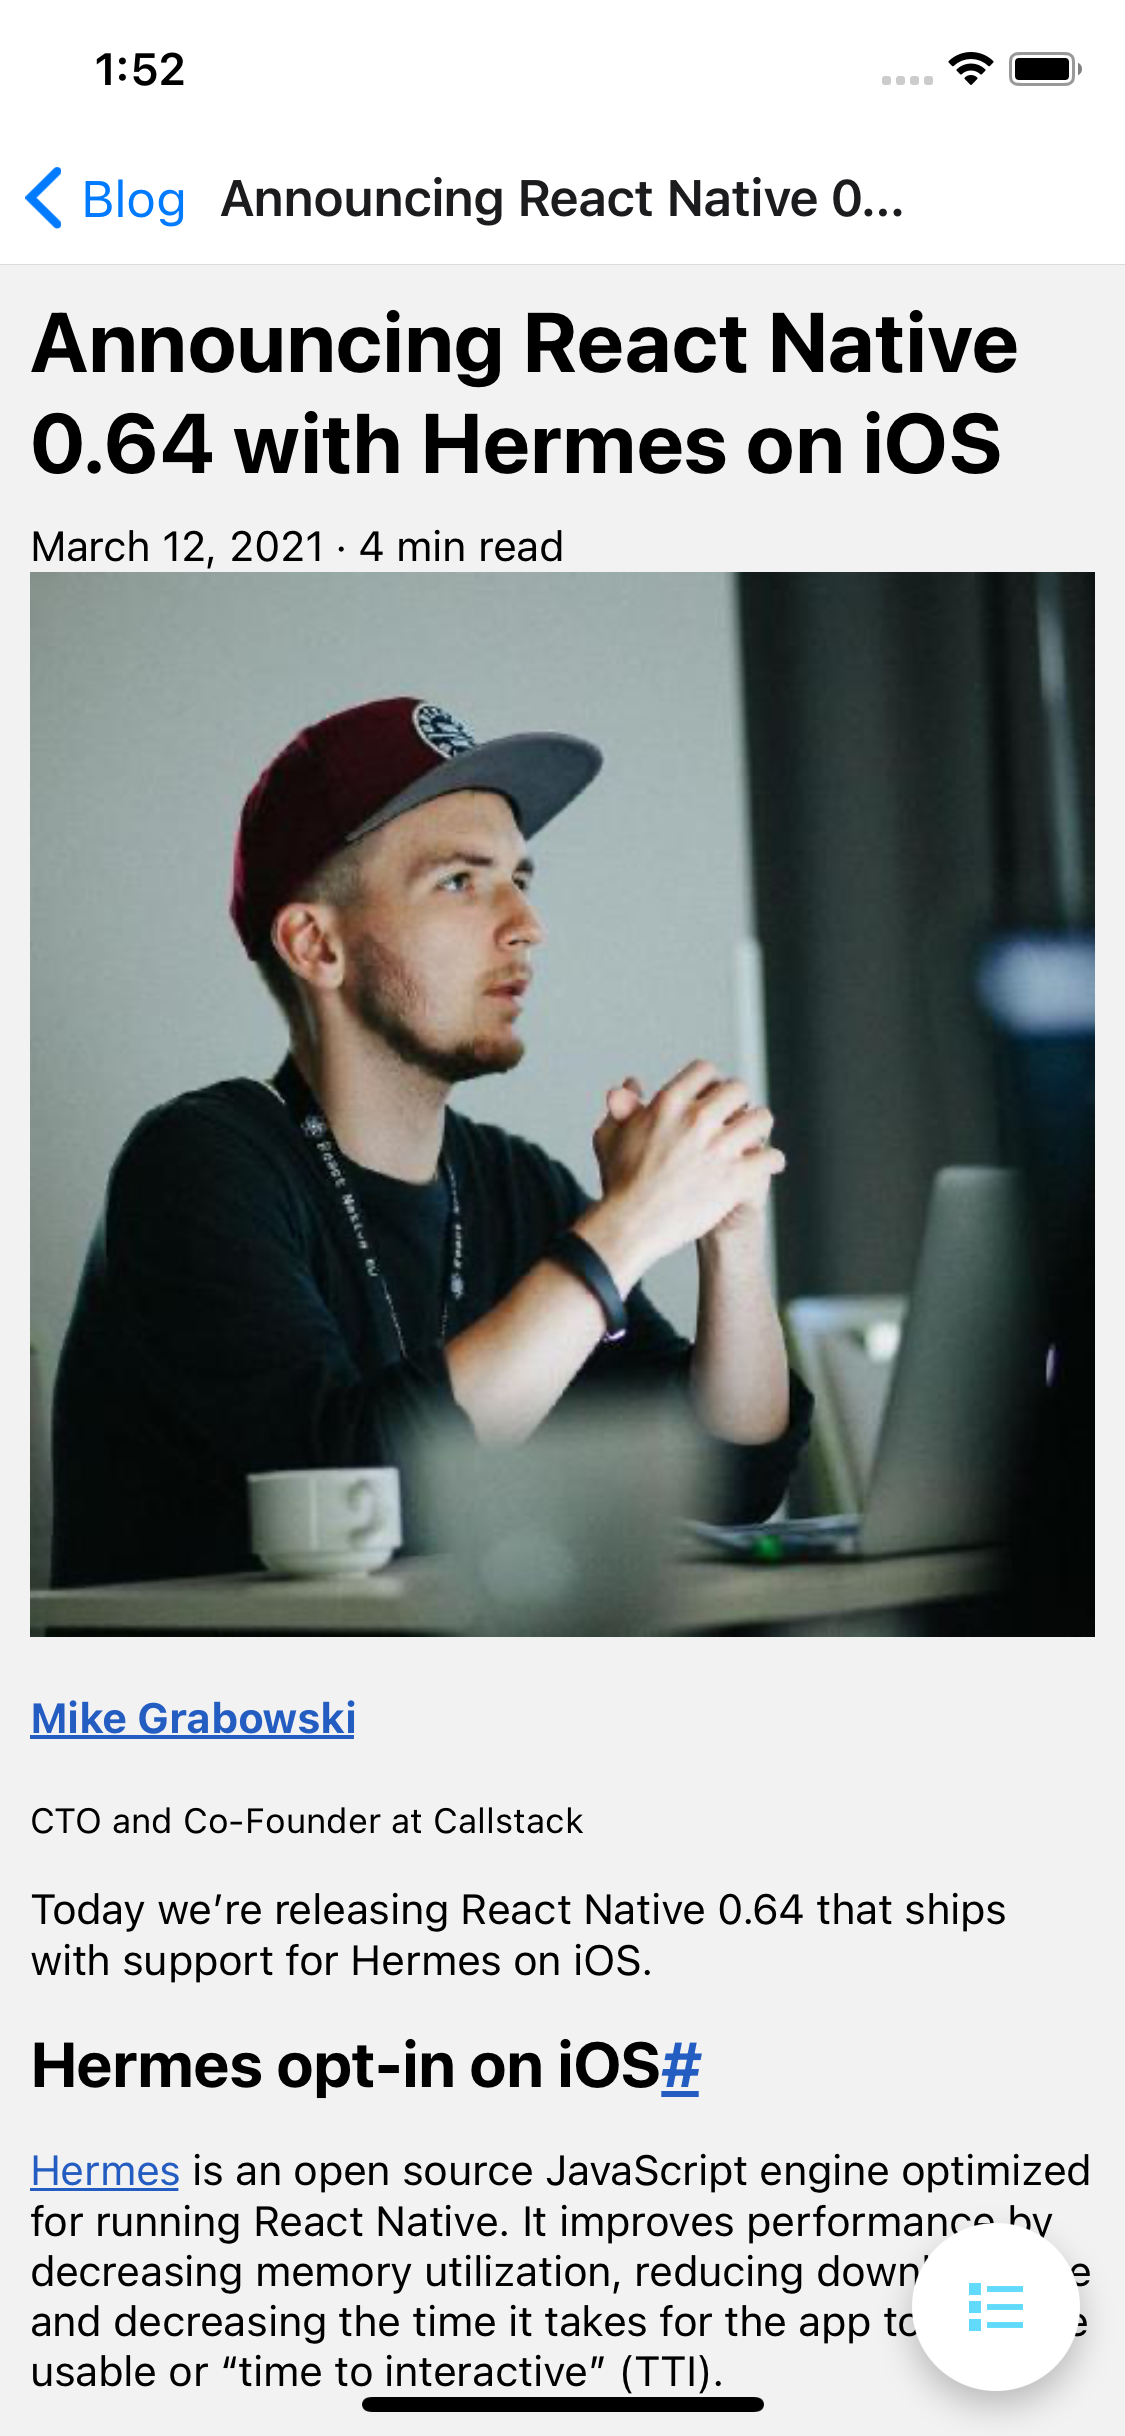
Finally, let's consume this hook from the ArticleScreen component and render an ArticleBody:
Fantastic! It's now rendering the whole article. It's very ugly though, and significantly divergent from the webpage layout, but we'll address that later:
The Drawer Layout#
We want to display a menu on the right. For this purpose, we will use the
DrawerLayout
component from react-native-gesture-handler.
Let's include this component in the ArticleScreen component:
Extracting headings#
Now, let's get back to useArticleDom hook and use an effect to extract headings from the DOM:
The effect is pretty straightforwards. It uses findAll from domutils to
extract all h2 and h3 tags, and finally update the headings state.
We are now ready to define a new TOC component to render those headings in the drawer.
The TOC Component#
Let's start by defining a TOCEntry component in components/TOCEntry.tsx:
The TOCEntry renders a Pressable which label is styled depending of the
tagName (h2 or h3) and whether it's active (e.g. selected).
Now we're ready to define the TOC component in components/TOC.tsx:
Finally, we must render the TOC component in the ArticleScreen:
Now, you should have a drawable TOC!
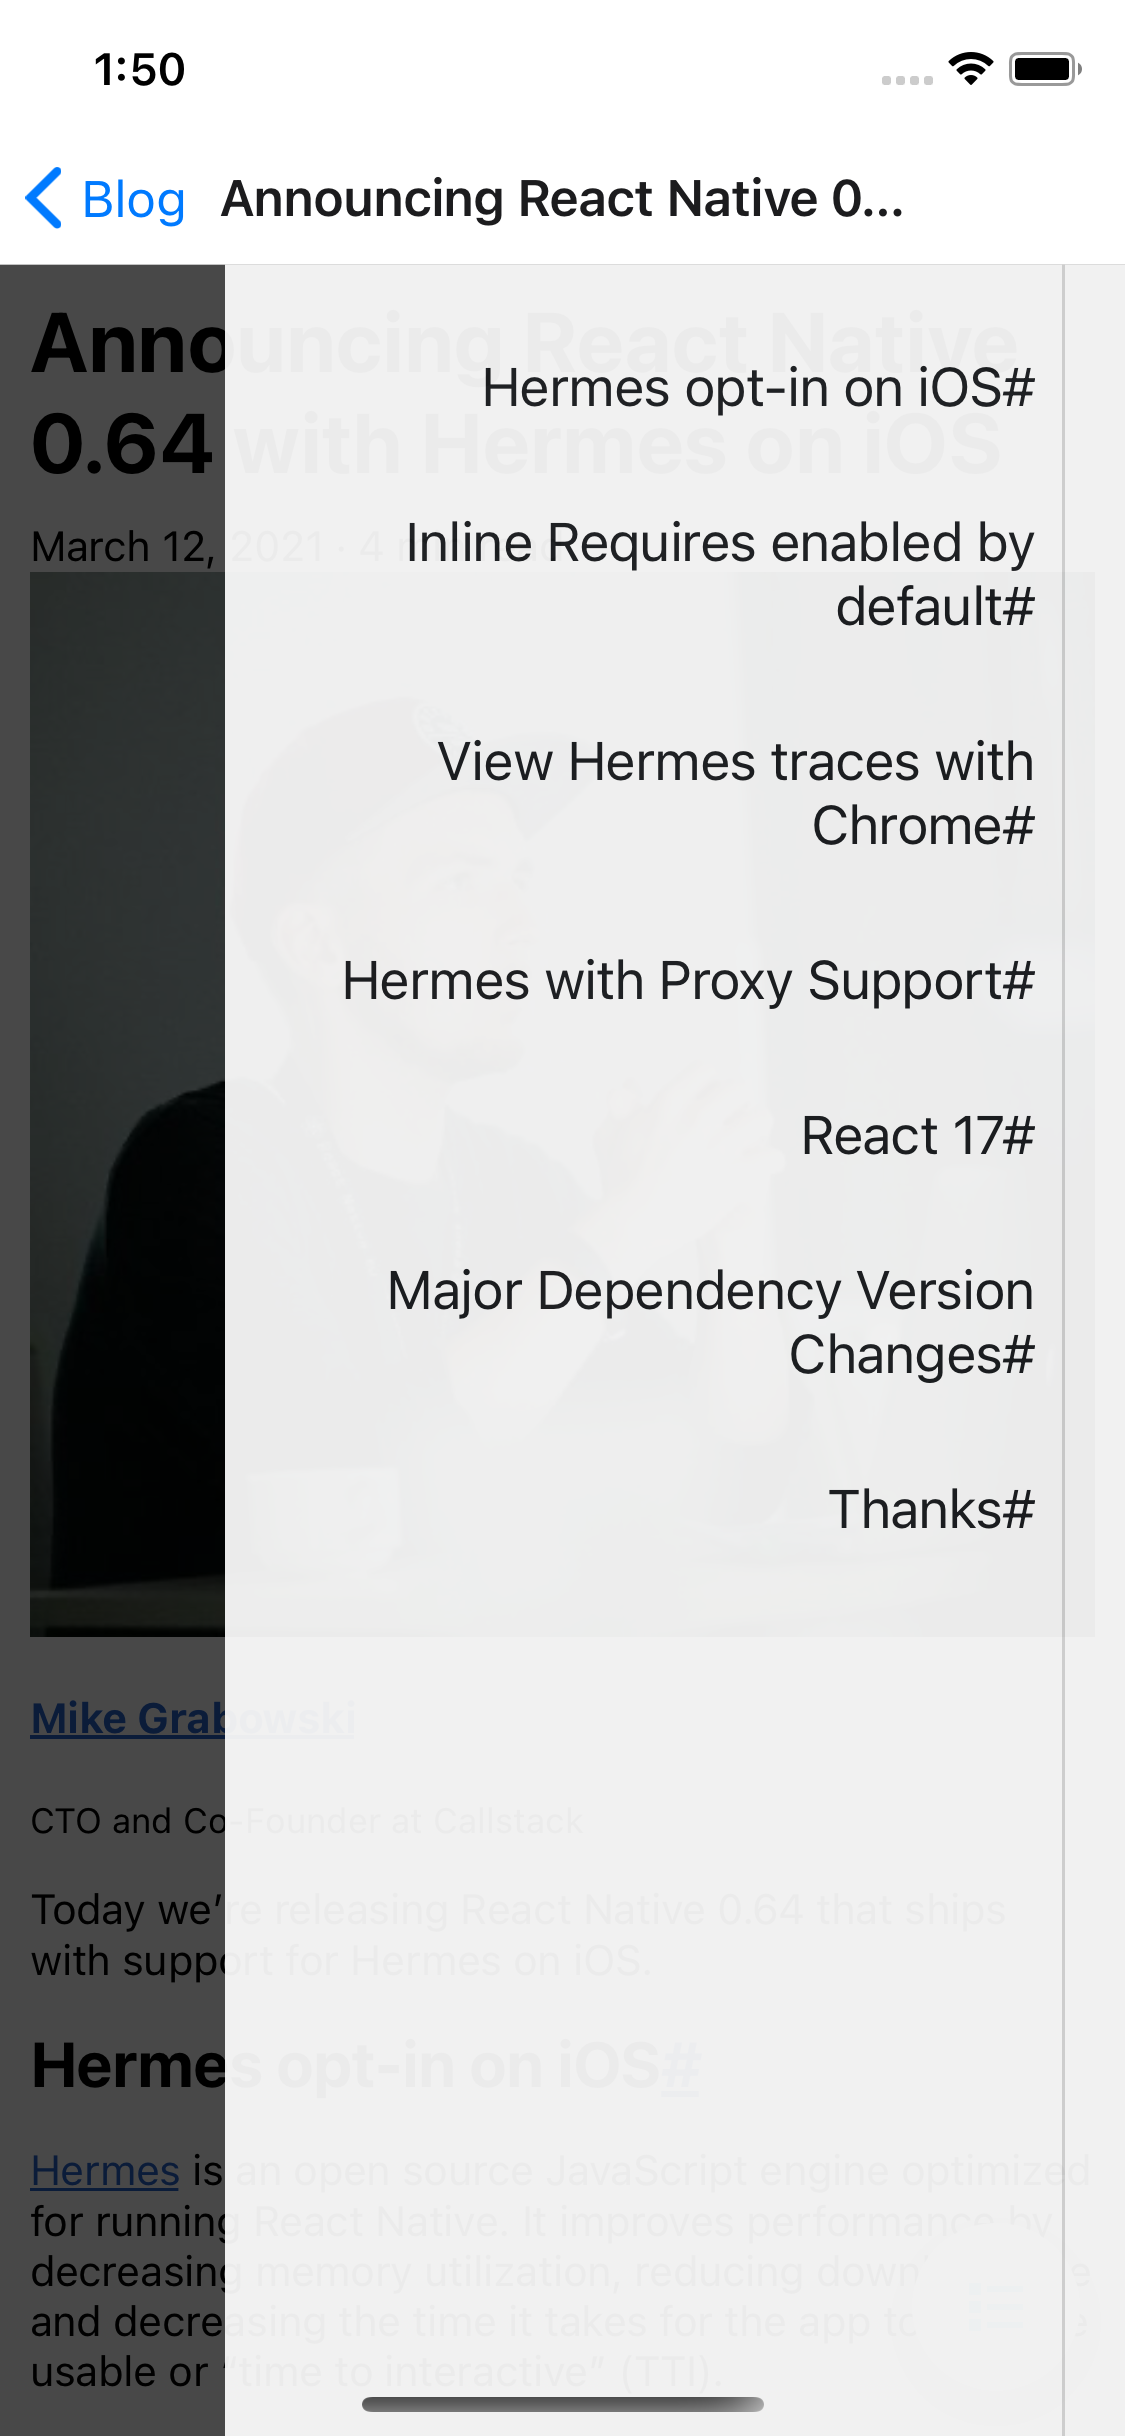
However, pressing an entry won't do anything. It is hence time to tackle the implementation of the tap-to-scroll feature! Let's jump to Part III.
